
Overview
In this article, we'll introduce you to Spring Cloud Stream, which is a framework for building message-driven microservice applications that are connected by a common messaging brokers like RabbitMQ, Apache Kafka, etc.
Spring Cloud Stream is built on top of existing Spring frameworks like Spring Messaging and Spring Integration. Although these frameworks are battle-tested and work very well, the implementation is tightly coupled with the message broker used. Also, sometimes its difficult to scale for certain use cases.
The idea behind Spring Cloud Stream is a very typical Spring Boot concept - talk to it in abstraction and let Spring figure out the implementation details at runtime based on configuration and dependency management. Which means you can change the underlining message broker just by changing the dependencies and configuration file. The various brokers that are currently supported can be found here.
We will be using RabbitMQ as a message broker for this article. Before that let's go through a few basic concepts of a broker and why we may need it in a microservice-oriented architecture.
Messaging in Microservices
In a microservice architecture, we have many small applications that talk to each other to complete a request - one of the main advantages of them being the improved scalability. It's quite common that a single request passes from more than one downstream microservices to complete. For example, let's say that we have a Service-A that internally calls Service-B and Service-C to complete a request:

Yes, there would be other components like Spring Cloud Eureka, Spring Cloud Zuul, and many more, but we are trying to focus on a particular problem with this type of architecture.
Suppose for some reason Service-B takes a bit more time to respond. Maybe it's doing an I/O operation or a long DB transaction or further calling different services that require it to be slow in a way that it cannot be made more efficient.
Now we may spin up more instances of Service-B to handle this and that's fine, but Service-A, which is actually fast, needs to wait for a response from Service-B to proceed further. This results in Service-A not being able to receive more requests, which means we have to spin up multiple instances of Service-A as well.
Another approach to tackle a similar situation is to have an event-driven microservice architecture. What this basically means is that instead of Service-A making calls to Service-B or Service-C directly through HTTP, it publishes the request or the event to a Message Broker. Service-B and Service-C will be subscribers to this event on the message broker.

This has many advantages over traditional microservice architecture that relies on HTTP calls:
- Improves scalability and reliability - We now know which services are true bottlenecks in our overall application.
- Encourages loose coupling - Service A doesn't need to know about Service-B and Service-C. All it needs to take care of is connecting to the message broker and publishing the event. How the event is further orchestrated depends on the broker setup. This way Service-A can evolve independently which is one of the core concepts of microservices.
- Interact with the legacy system - Quite often we cannot move everything to a newer technology stack. We have to still work with the legacy system which, although slow, are reliable.
RabbitMQ
Advanced Message Queuing Protocol (AMQP) is a protocol that RabbitMQ uses for messaging. Although RabbitMQ supports some other protocols, AMQP is most preferable due to compatibility and the large set of features it offers.
RabbitMQ Architectural Design

So a Publisher publishes a message to something called an Exchange in RabbitMQ. Exchange takes a message and routes it to one or more queues. Routing algorithms depend on the exchange type and a routing key/header (passed along with the message). These rules that connect an Exchange to a Queue are called bindings.
Bindings can be of 4 types:
- Direct: It directly maps an exchange type to a specific queue based on the routing key.
- Fanout: It routes messages to all the queues from the bound exchange.
- Topic: It routes messages to queues (0, 1, or more) based on either full or a portion of routing key matches.
- Headers: It is similar to topic exchange type, but it routes based on header values instead of routing keys.

Credits - https://www.cloudamqp.com/
This overall publishing and consuming of messages through Exchanges and Queues is done over a channel.
For more detail on routings, please visit this link.
RabbitMQ Setup
Installation
We can download and setup the binaries based on our operating system from here.
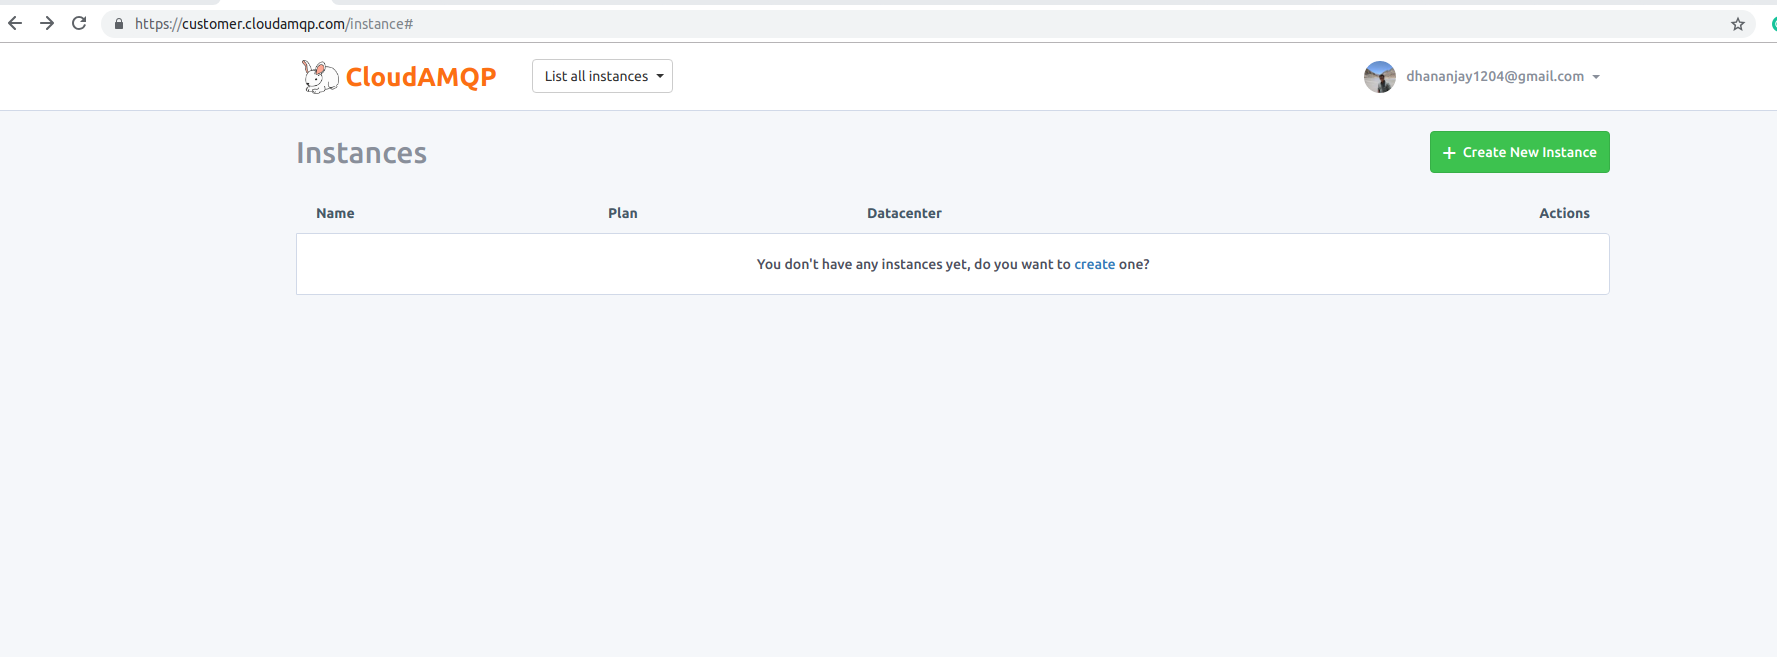
However, in this article we will be using a free cloud based installation provided by cloudamqp.com. Simply signup for the service and login.
In your main dashboard click on "Create New Instance":
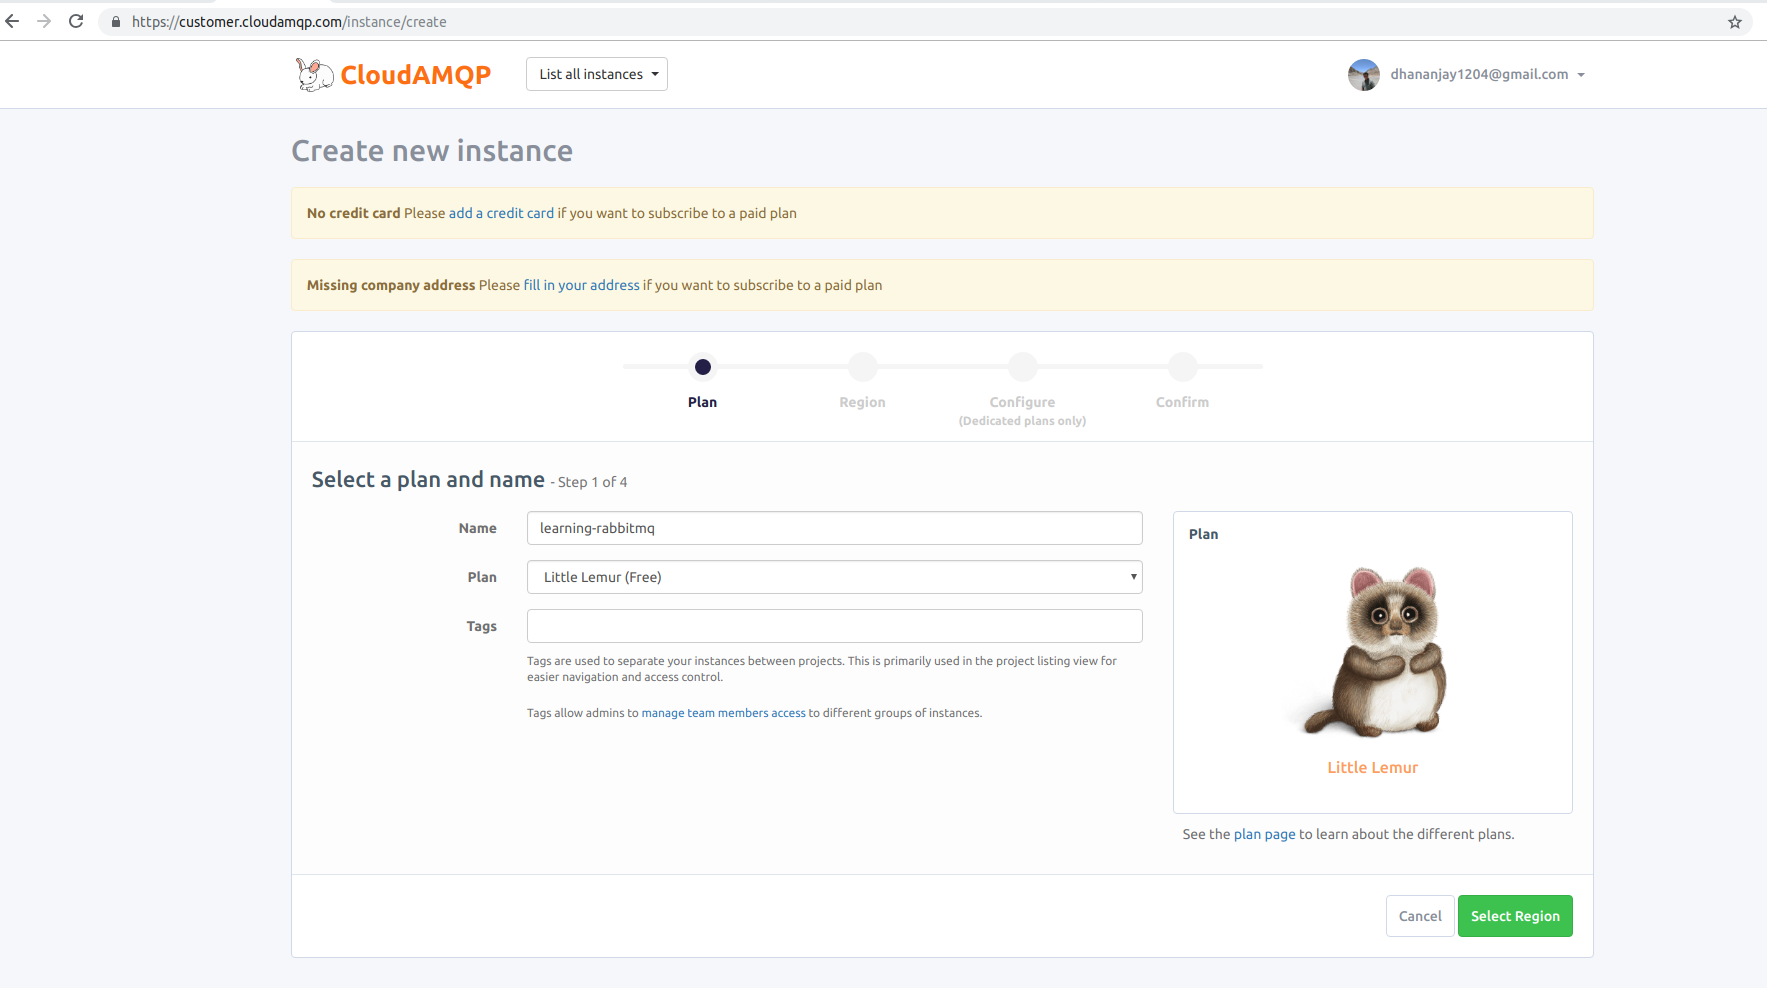
Then give your instance a name and move to the next step:
Then select a Region:

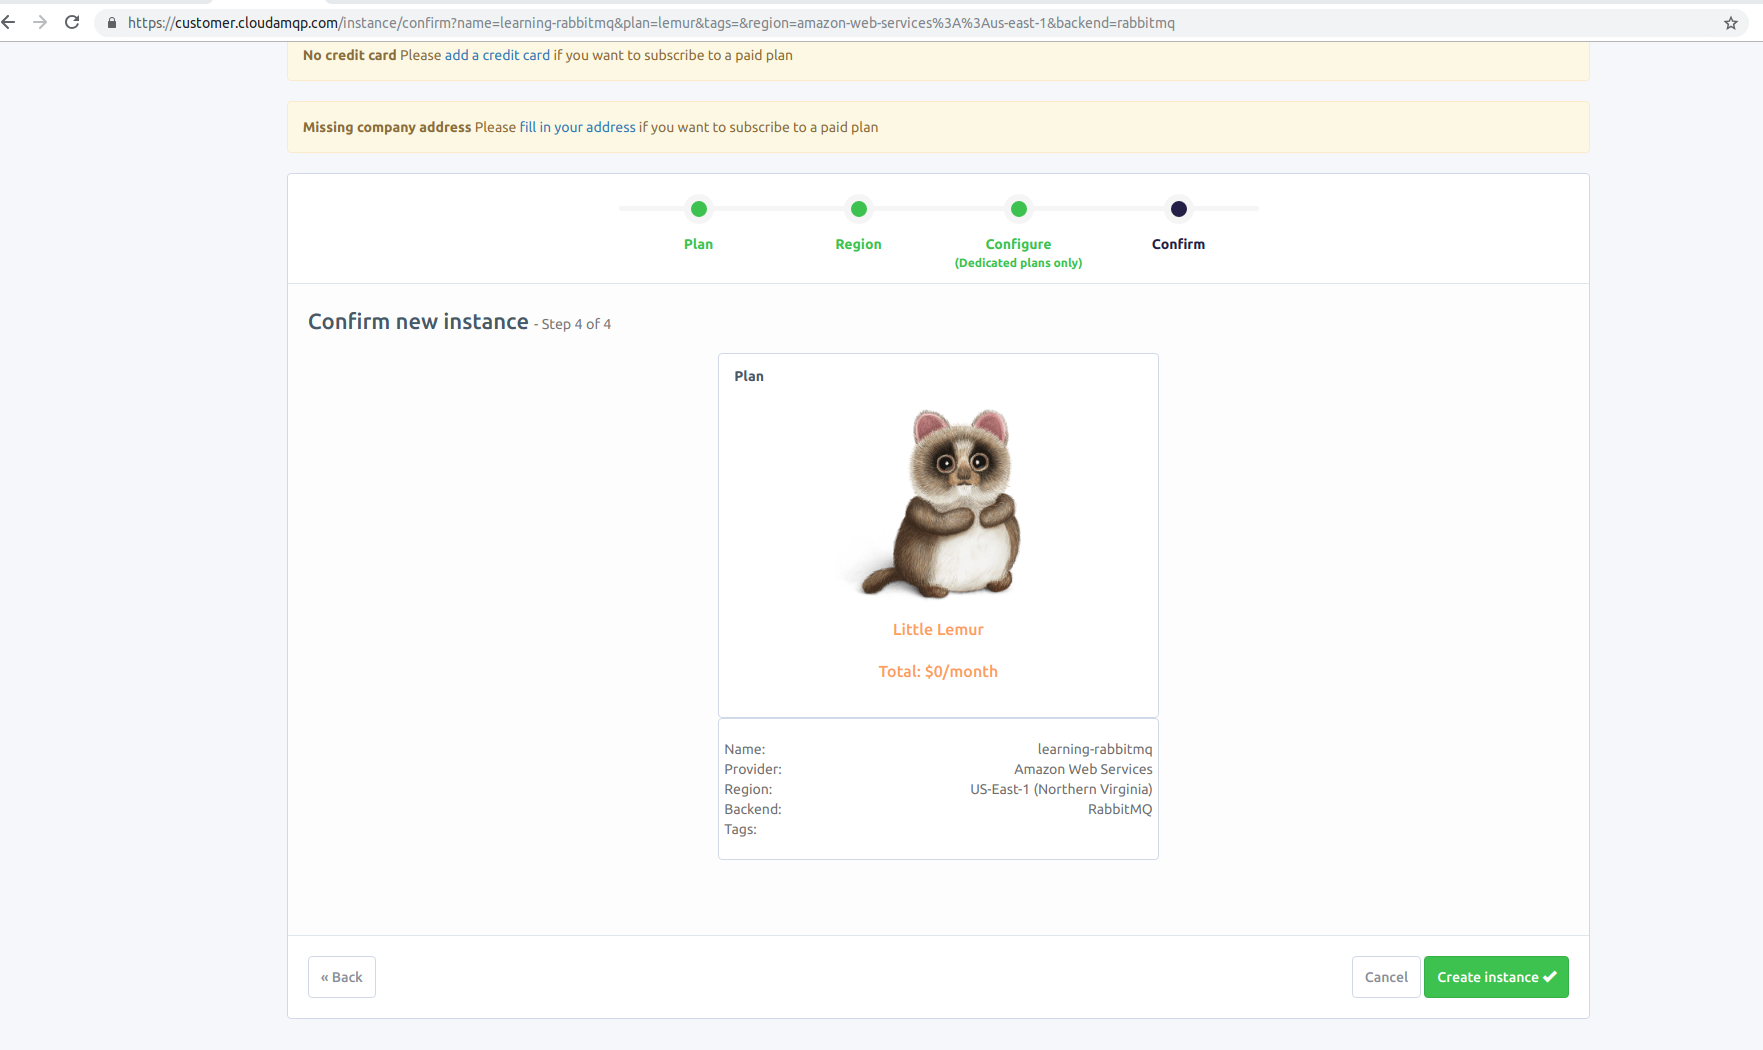
And last, review your instance information and click "Create instance" at the bottom right corner:
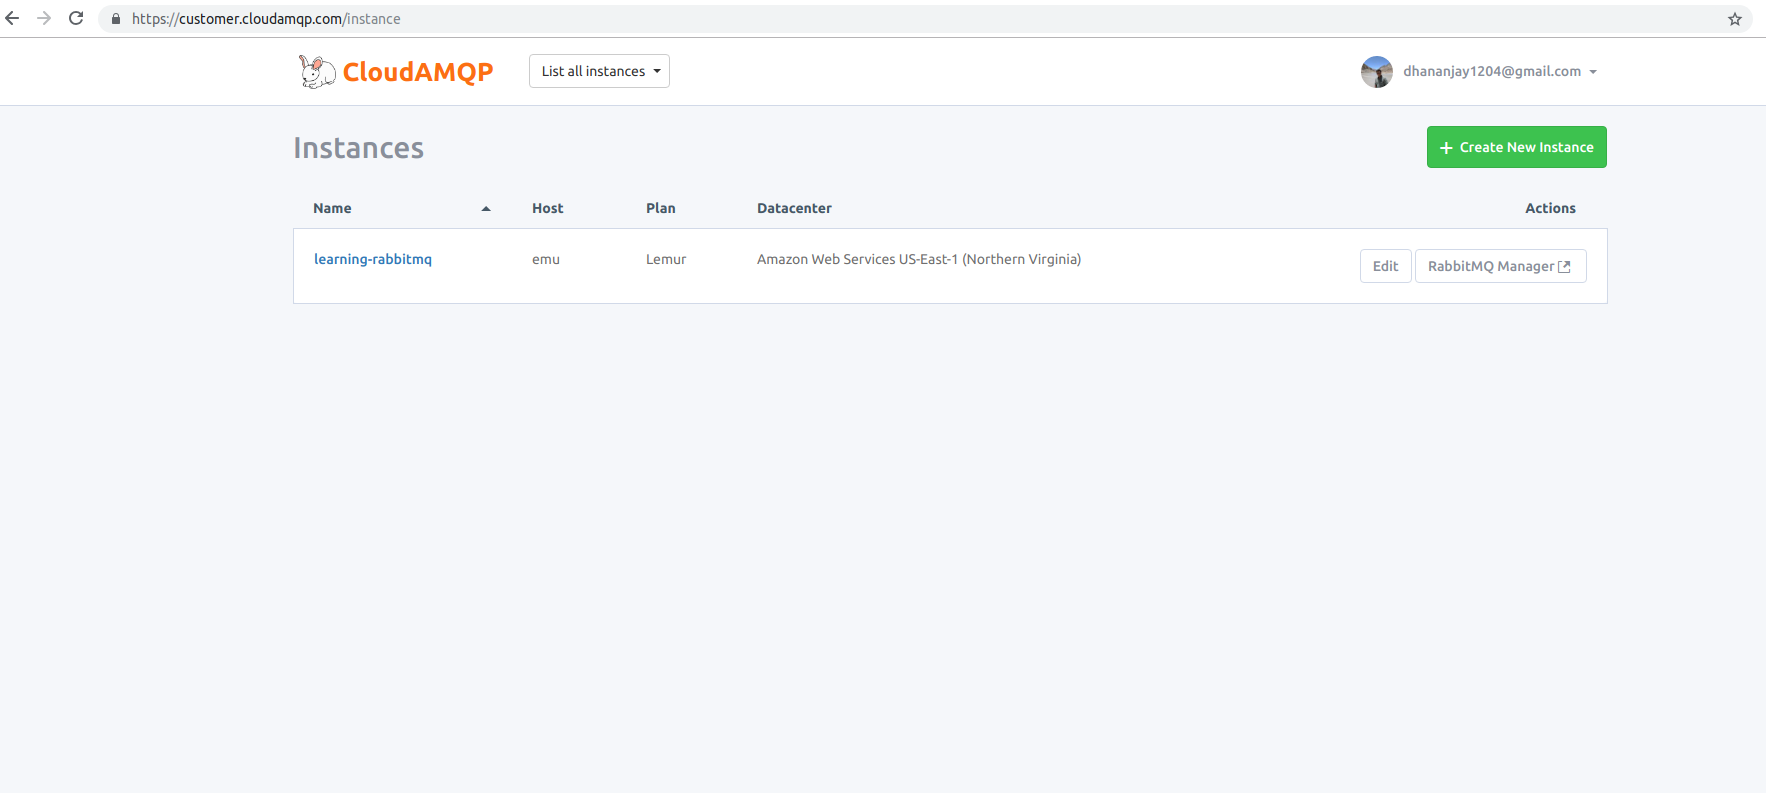
That's it. You now have a RabbitMQ installation running on the cloud. For more details about your instance go to your dashboard and click on the newly created instance:
We can see the host from which we can access our RaabbitMQ instance, like the username and the password required to connect from our project:

We'll be using "AMQP URL" in our Spring application to connect to this instance, so make a note of it somewhere.
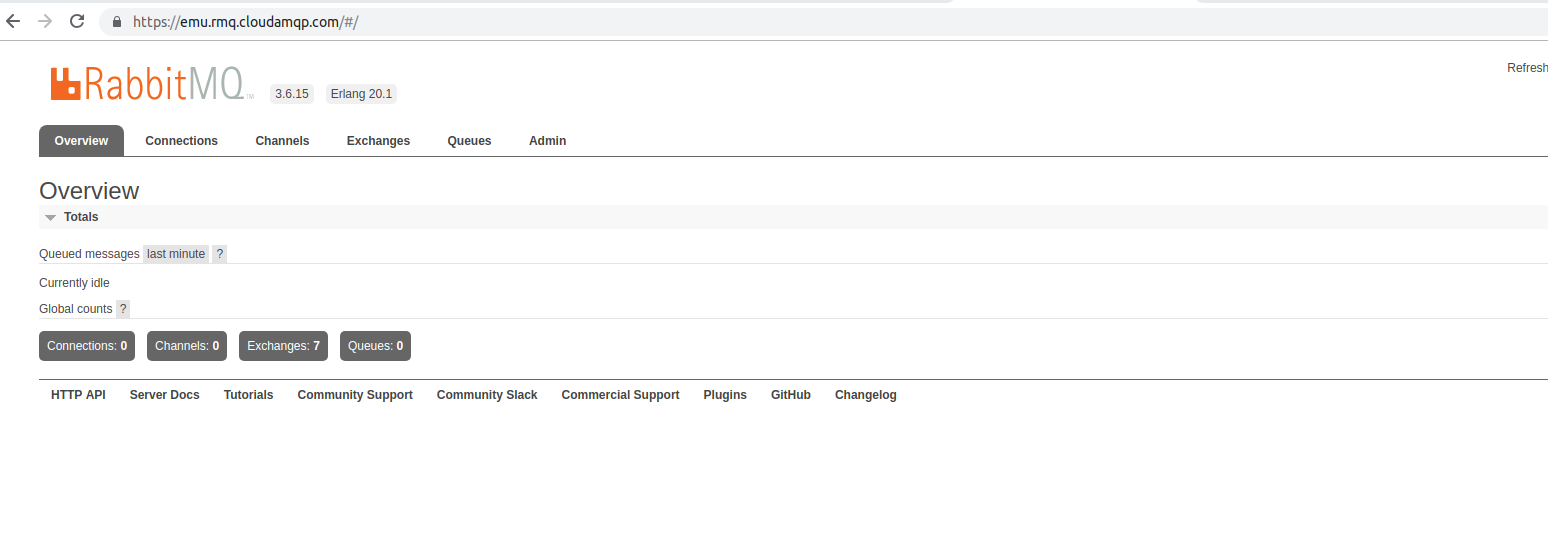
You could also see the manager console by clicking the "RabbitMQ Manager" on the top left corner. This will take to your RabbitMQ instance management, which looks something like:
Project Setup
Now that our setup is ready, let's create our services:
- cloud-stream-producer-rabbitmq: This will act as a publisher that will push messages to RabbitMQ
- cloud-stream-consumer-rabbitmq: This will consume the messages
The best way to start with a skeleton project is to use Spring Initializr. This will be our producer project and we will be using REST endpoints to publish messages.
Select your preferred version of Spring Boot and add the "Web" and "Cloud Stream" dependencies and generate as a Maven project:
Check out our hands-on, practical guide to learning Git, with best-practices, industry-accepted standards, and included cheat sheet. Stop Googling Git commands and actually learn it!

Note: Notice the message in the brackets in the cloud-stream dependency. It says that this requires a binder dependency too like RabbitMQ, Kafka, etc. to work.
Since we will be using RabbitMQ, add the following Maven dependency:
<dependency>
  <groupId>org.springframework.cloud</groupId>
  <artifactId>spring-cloud-stream-binder-rabbit</artifactId>
</dependency>
Alternatively, we can also combine the two and use the Spring Cloud Stream RabbitMQ Starter:
<dependency>
  <groupId>org.springframework.cloud</groupId>
  <artifactId>spring-cloud-starter-stream-rabbit</artifactId>
</dependency>
Similarly, create the consumer project, but only with spring-cloud-starter-stream-rabbit dependency.
Building the Producer
As we said earlier, the overall process of messages being passed from a publisher to exchange to the queue is done via a channel. So let's create a HelloBinding interface that contains our MessageChannel called "greetingChannel":
interface HelloBinding {

    @Output("greetingChannel")
    MessageChannel greeting();
}
Since this would be publishing the message, we used the @Output annotation. The method name can be anything we want and of course, we can have more than one channel in a single interface.
Now, let's create a REST endpoint that pushes messages to this channel:
@RestController
public class ProducerController {

    private MessageChannel greet;

    public ProducerController(HelloBinding binding) {
        greet = binding.greeting();
    }

    @GetMapping("/greet/{name}")
    public void publish(@PathVariable String name) {
        String greeting = "Hello, " + name + "!";
        Message<String> msg = MessageBuilder.withPayload(greeting)
            .build();
        this.greet.send(msg);
    }
}
Above, we created a ProducerController class that has an attribute greet of type MessageChannel. This is initialized in the constructor by the method we declared previously.
Note: We could also do the same in a compact way, but we are using different names to give you more clarity on how things connect.
Then we have a simple REST mapping that takes in a name from the PathVariable and creates a Message of type String using MessageBuilder. In the end, we used the .send() method on the MessageChannel to publish the message.
Now, we have to tell Spring about our HelloBinding, which we will do in our main class using @EnableBinding annotation:
@EnableBinding(HelloBinding.class)
@SpringBootApplication
public class Application {

    public static void main(String[] args) {
        SpringApplication.run(Application.class, args);
    }
}
In the end, we have to tell Spring how to connect to RabbitMQ (via the "AMQP URL" from earlier) and make a way to connect "greetingChannel" to a possible consumer.
Both of these are defined within the application.properties:
spring.rabbitmq.addresses=<amqp url>

spring.cloud.stream.bindings.greetingChannel.destination = greetings

server.port=8080
Building the Consumer
Now we need to listen to the channel we created previously, i.e "greetingChannel". Let's create a binding for it:
public interface HelloBinding {

    String GREETING = "greetingChannel";

    @Input(GREETING)
    SubscribableChannel greeting();
}
The two differences from the producer binding should be quite obvious. Since we are consuming the message, we are using SubscribableChannel and @Input annotation to connect to "greetingChannel" where data will be pushed.
Now, let's create the method where we will actually process the data:
@EnableBinding(HelloBinding.class)
public class HelloListener {

    @StreamListener(target = HelloBinding.GREETING)
    public void processHelloChannelGreeting(String msg) {
        System.out.println(msg);
    }
}
Here, we created a class HelloListener that has a method annotated with @StreamListener, targeted to the "greetingChannel". This method expects a String as an argument, which we just logged in the console. We also enabled the HelloBinding here using @EnableBinding at the top of the class.
Once again, we used the @EnableBinding here and not the main class, in order to show you that it's up to you how you organize names, declarations, etc., whichever makes more sense to you or your team.
Let's see our main class too, which we didn't change:
@SpringBootApplication
public class Application {

    public static void main(String[] args) {
        SpringApplication.run(Application.class, args);
    }
}
In application.properties we need to define the same thing we did for the producer, except that this will run on a different port:
spring.rabbitmq.addresses=<amqp url>
spring.cloud.stream.bindings.greetingChannel.destination=greetings
server.port=9090
Testing it All
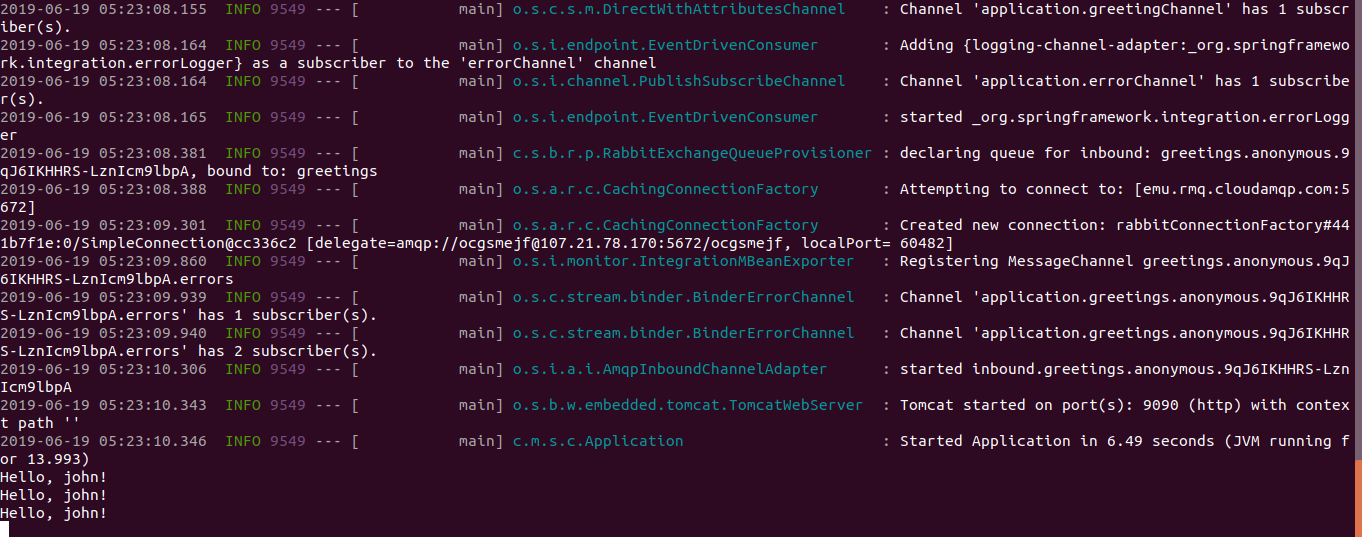
Let's start both the producer and the consumer service. First, let's produce the message by hitting our endpoint http://localhost:8080/greet/john.
In the consumer logs you can see the message:
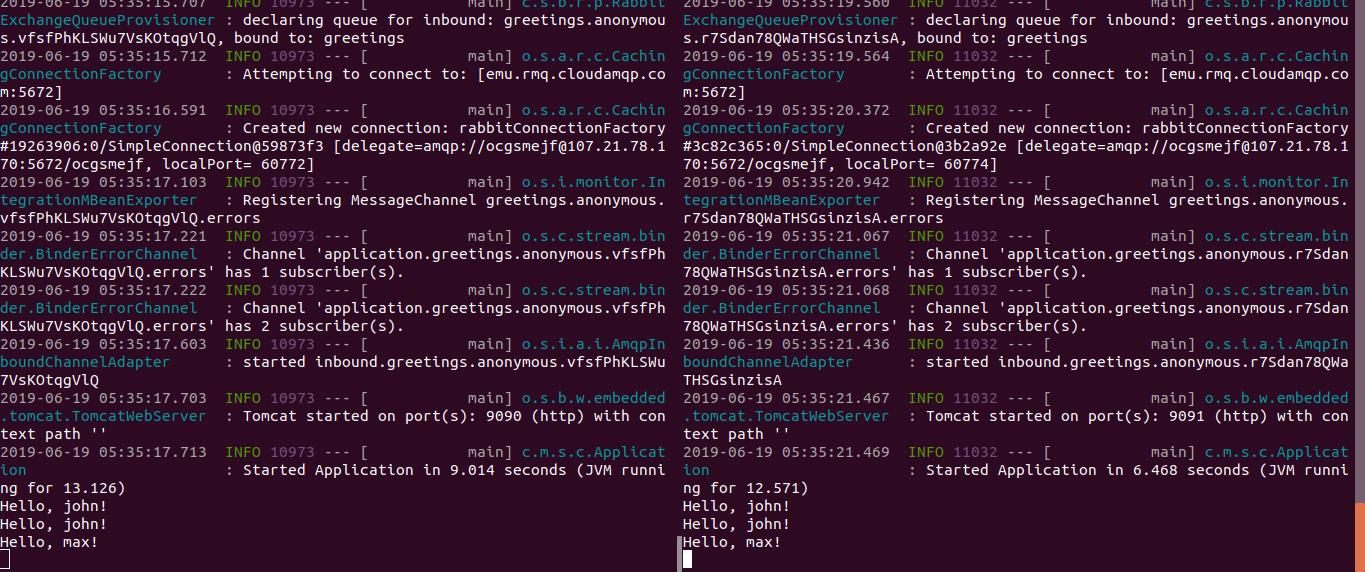
Let's start another instance of the consumer service (on a different port) using the following command:
$ mvn spring-boot:run -Dserver.port=9091
Now, when we hit the producer REST endpoint to publish, we see that both the consumers received the message:
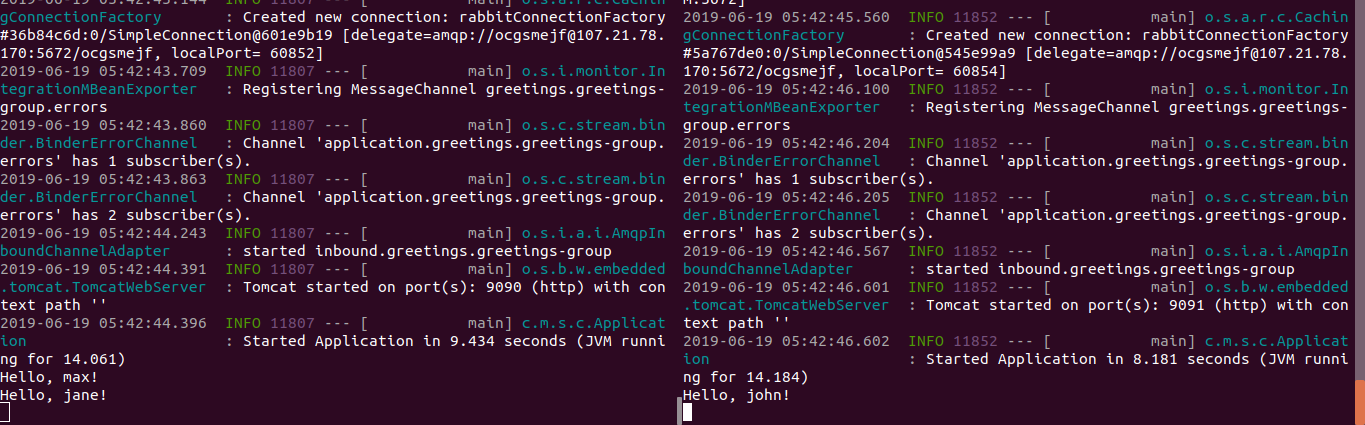
This may be what we want in some of our use cases. But, what if we only want one consumer to consume one message? For that, we need to create a consumer group in the application.properties of our consumer:
spring.cloud.stream.bindings.greetingChannel.group = greetings-group
Now again, run 2 instances of the consumer on different ports and check again by publishing via producer:
This all can also be seen visually in RabbitMQ manager console:


Conclusion
In this article, we've explained the main concept of messaging, its role in microservices and how to implement it using Spring Cloud Stream. We used RabbitMQ as our message broker, but we can use other popular brokers, like Kafka, by just changing configuration and dependencies.
As always, the code for the examples used in this article can be found on GitHub

