
Introduction
Scheduling a job in Jenkins is very useful when it comes to developing a great product. Imagine what a great advantage it is to transform a time-consuming task into an automated job. It doesn't need any supervision and as long as there are no errors in the workflow, you shouldn't have any worries.
In today's article we'll make a job that will run every five minutes and has the following output:
Hello, World!
Today's:
<<date>>
Here's the current time:
<<time>>
Additionally, we'll build a job that watches another project, and depending on its status, prints out an automated statement.
Use-Cases for Automation with Jenkins
But before we dive into the technical part, let's take a moment to consider what can be automated in Jenkins. Of course, with a little imagination, you can tackle most problems and automate them. Let's take a look at an example that could be automated with Jenkins if you have a little (more) patience and you're also eager to deepen your Jenkins skills.
Products like Amazon Echo and Alexa could be configured to call Jenkins jobs that perform various actions. You could relatively easily integrate it into your smart home:
- Say, "Alexa, lock the doors" (that would be the trigger, meaning Jenkins will listen to that event).
- Alexa skill activates a Jenkins job.
- Jenkins' job will use a script to call the smart doors locking system API.
- Alexa waits for the Jenkins job to finish and tells you how it went, i.e. "Door successfully locked", "The doors are already locked" or "The doors could not be locked".
Of course, that's not a CI/CD job, but is well within the domain of possibilities for existing tech with Jenkins.
Requirements
- A Jenkins server – for this tutorial, we'll use the official Docker image to set up a Jenkins server
- A job that you'd like automated
Creating a Jenkins Job
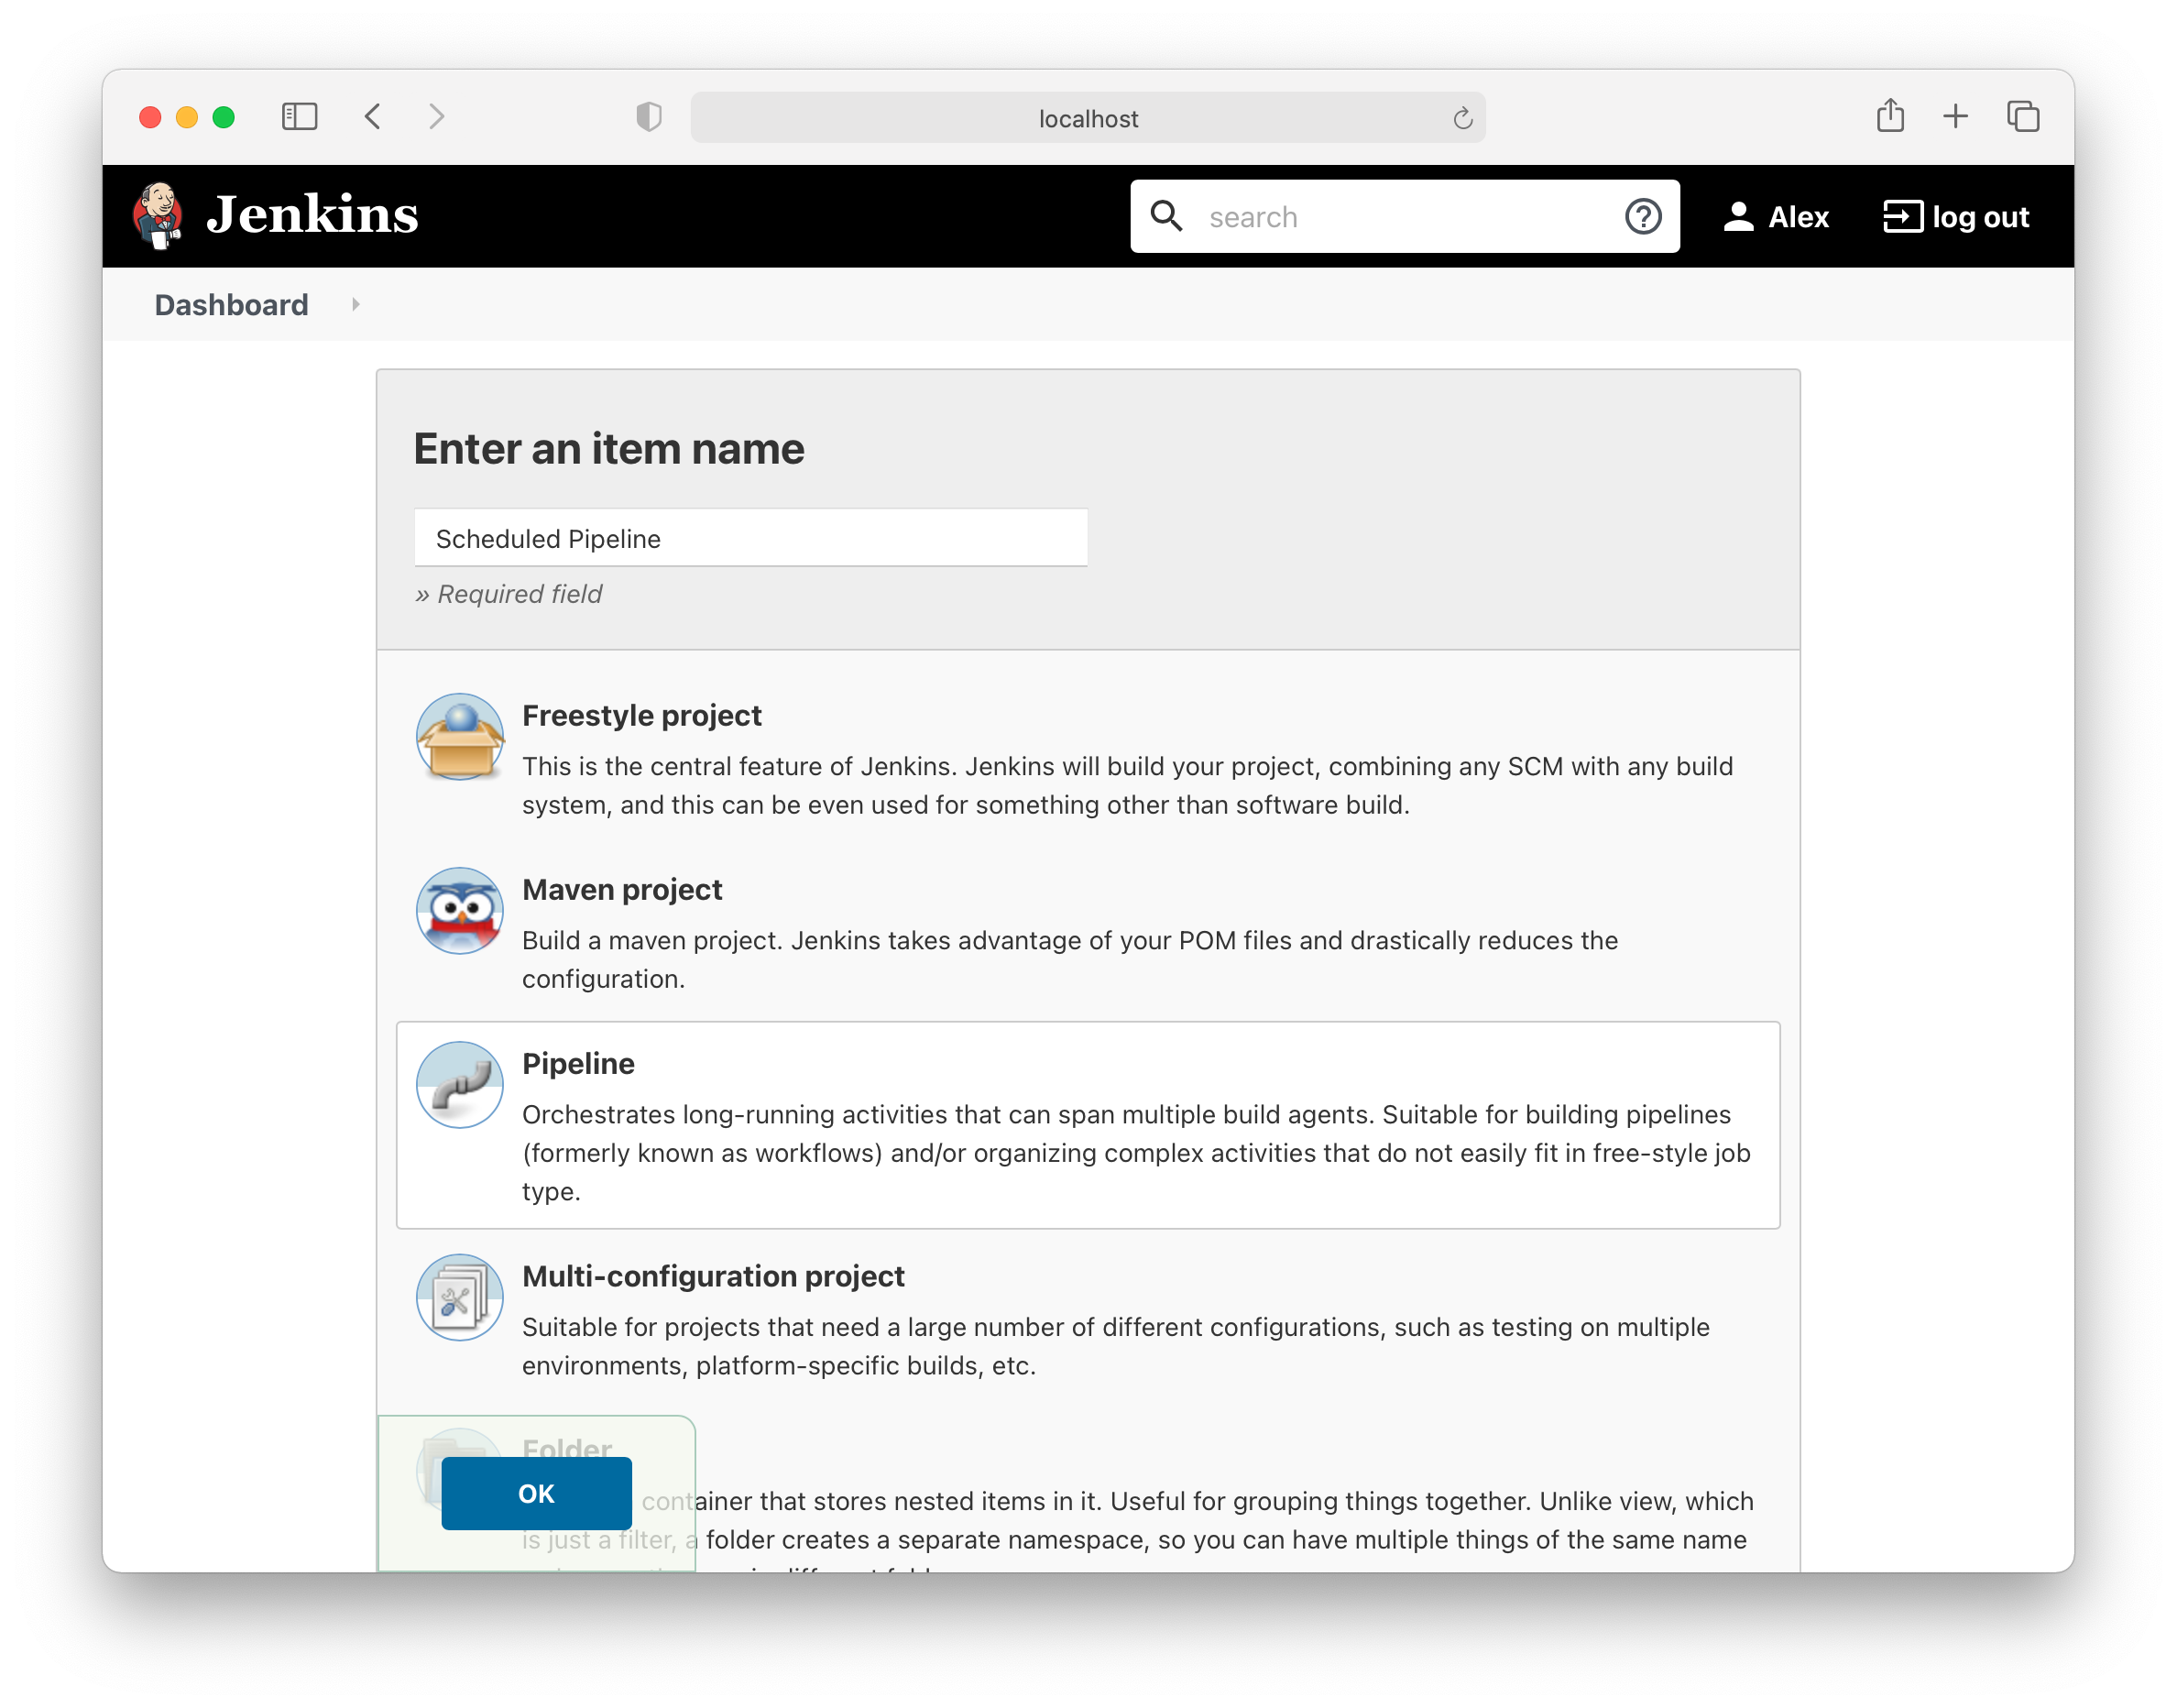
Login in to your Jenkins application and click on Create a Job. The type of job doesn't matter. It can be Freestyle, Maven, etc. All that matters is how we configure the scheduler.
For this article, we'll go with Pipeline. Choose a name for your project and save it:
Now, before we deal with the scheduling part, let's set up the Pipeline Groovy script which will print the message from the introduction.
Scroll down to Pipeline and add the following script:
pipeline {
    agent any

    stages {
        stage('Write Greetings') {
            steps {
                echo 'Hello, World!'
            }
        }

        stage('Write Date') {
            steps {
                print 'Today\'s '
                print new Date().format("dd-MM-yyyy", TimeZone.getTimeZone("UTC"))
            }
        }

        stage('Write Hour') {
            steps {
                print 'Here\'s the current time '
                print new Date().format("HH:mm:ss", TimeZone.getTimeZone("UTC"))
            }
        }
    }
}
The script has three stages: Write Greetings, Write Date, and Write Hour. We use stages in order to better define and structure our script. Also, the stages can be viewed in the Jenkins UI.
In case one of them fails, you'll know which one:

Running the Job
We have our job ready to be triggered! Let's click on Build Now and check the output:

Started by user Alex
Running in Durability level: MAX_SURVIVABILITY
Running on Jenkins in /var/jenkins_home/workspace/Scheduled Pipeline
Hello, World!
Today's:
24-12-2020
Here's the current time:
16:00:38
Finished: SUCCESS
You can also see on the Job's page the average time for every stage:
Check out our hands-on, practical guide to learning Git, with best-practices, industry-accepted standards, and included cheat sheet. Stop Googling Git commands and actually learn it!

There are many ways to trigger a Jenkins job: manually (of course), using a Cron Expression, hooks, watching other projects, etc.
Scheduling Jenkins Jobs with Cron
Let's start with triggering a job via the Cron utility. We'll choose Build periodically and for the Schedule field use the following expression:
H/5 * * * *

This expression means the job will be executed every 5 minutes. A few useful examples of other patterns could be:
0 0 13 1/1 * ? *– every hour, starting with 13:00;0 0 17 ? * MON-FRI *– every working day, at 5 PM;
If you don't want to learn this type of formatting in order to schedule your job, you can use a Cron Expression generator like CronMaker.
Let's see the result. For this, we'll have to wait. After 10 minutes you should see that 2 jobs were triggered automatically:

Notice the first job was executed at 9:12 PM, then at 9:17 PM, and the last at 9:22 PM. So the rule worked! We have a job which runs every 5 minutes.
Scheduling a Jenkins Job by Watching Other Projects
Now that we've seen how we can schedule a job periodically, let's create another one that triggers itself every time the first one was successful. Create another Pipeline project, and add the following code:
pipeline {
    agent any

    stages {
        stage('It worked') {
            steps {
                echo 'The other job worked!'
            }
        }
    }
}
We have our pipeline script, let's schedule it. In the Build Triggers tab, select Build after other projects are built.
Enter the project which needs to be watched and select the cases when this one should be triggered:

Save it and let's wait for a little while. You should see the new job trigger itself every time the first one succeeds. You can see the details of the first run of this second job that was triggered by the job created before:

Here's the output:
Started by upstream project "Scheduled Pipeline" build number 7
originally caused by:
 Started by timer
Running in Durability level: MAX_SURVIVABILITY
Running on Jenkins in /var/jenkins_home/workspace/The other job worked
The other job worked!
Finished: SUCCESS
Conclusion
Automation is very useful and one of the key things technology brings us, regardless of the process you want to automate.
In this article, we've gone over how to schedule a job in Jenkins to run periodically using a Cron pattern, as well as to run when other projects are built.

